Installation Overview
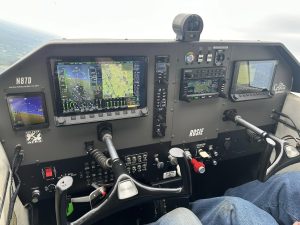
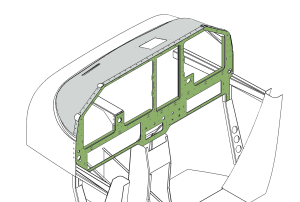
The Legacy XL Stationary Panel is a replacement stationary panel for Cessna 172 and Reims F172 aircraft. The following gives a brief overview of what the installation process entails. Installation can be completed using industry standard methods as outlined in AC 43.13B. All sheet metal installation procedures follow guidance found in Chapter 4 Section 4.
01
02
Completion of the following steps may take as little as 40 hours for an experienced, certificated mechanic to complete.
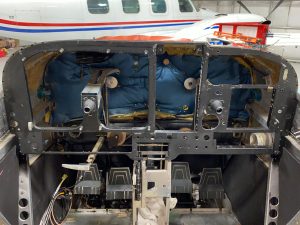
To begin the installation, remove all components that are installed in the existing stationary panel. All wiring that is run through the stationary panel must be removed so that the stock stationary panel is completely bare.
03
04
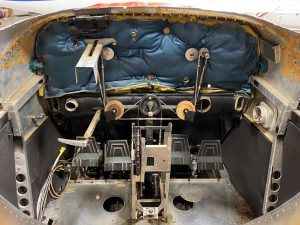
The windshield must then be removed (this is a good time to think about replacing that!), a handful of rivets drilled out from the fuselage skin, and the upper skin must be cut all the way across. Remove the stock stationary panel and the cut skin.
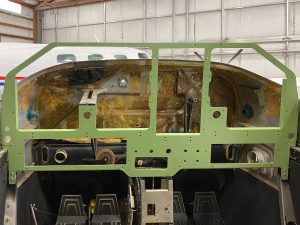
Rivet the replacement stationary panel back into place utilizing the same holes that the stock stationary panel riveted into. The Legacy XL Stationary Panel does not require removing any support components such as yoke supports, and requires minor modification to the parking brake housing.
05
06
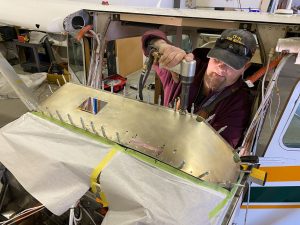
The replacement upper skin is necessary due to the slight raise in height over the stock stationary panel. There is some preparation to install the upper skin required. First attach the upper skin to the upper supports of the stationary panel with clecos and lay the upper skin along the remaining existing skin. Drill holes to match those in the new upper skin in the existing area. This is where the new skin will attach to the existing fuselage skin. Remove the upper skin to debur and countersink the holes.
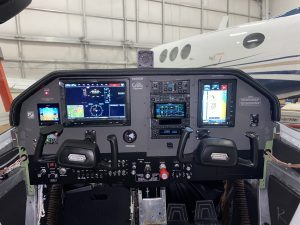
Rivet the upper skin first to the stationary panel, and then to the existing skin, matching the new holes that were drilled. Once the replacement stationary panel is in place, wiring and avionics components can begin to be installed, and other removed components can be reinstalled. We recommend upgrading or replacing some components that are required to be removed.
07
